Popular Posts

How to Clean a Laptop Fan

How to Clean a Laptop Fan: Step-by-Step Guide for Better Performance

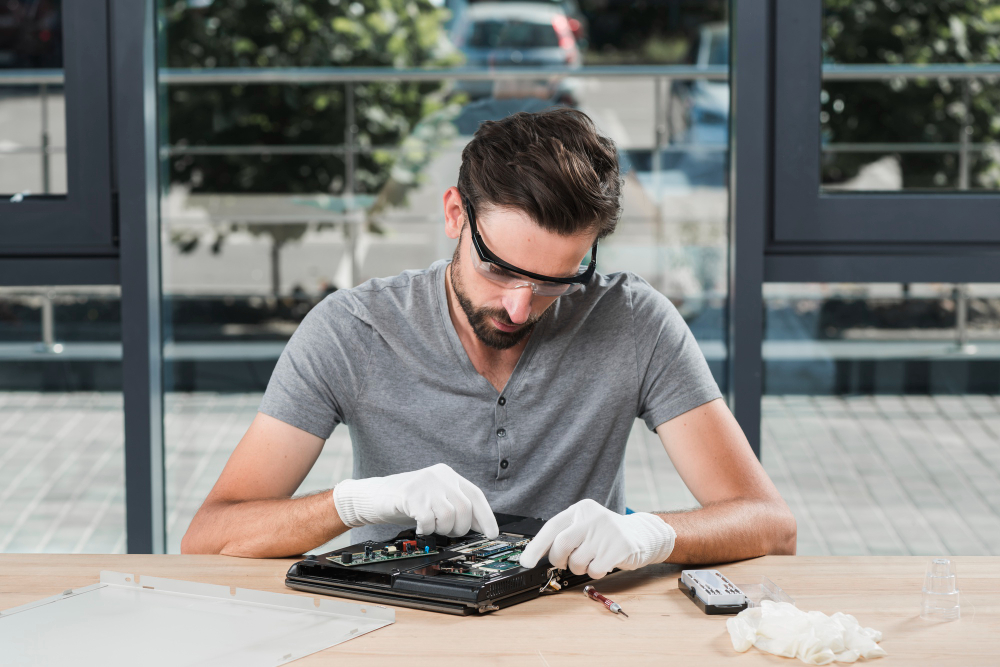
If your laptop has been making strange noises, heating up quickly, or slowing down during regular use, a dusty fan might be the culprit. Over time, dust and debris accumulate inside your laptop, blocking airflow and causing the fan to work harder. Cleaning your laptop fan not only prevents overheating but also improves performance and extends its lifespan.

In this detailed guide, we’ll show you how to clean a laptop fan safely and effectively whether you want a quick surface clean or a deeper internal cleaning.

Why Cleaning Your Laptop Fan Is Important

The fan is one of the most critical components in your laptop’s cooling system. Its job is to draw in cool air and push out hot air generated by the CPU and GPU. When dust builds up inside, it reduces airflow, traps heat, and forces the fan to spin faster and louder.

Here’s why regular fan cleaning matters

  • Prevents overheating: Overheating can cause thermal throttling and sudden shutdowns.
  • Improves performance: A cool system runs faster and more efficiently.
  • Reduces noise: Dusty fans often produce a loud whirring or grinding sound.
  • Extends hardware life: Overheating damages sensitive components over time.

Cleaning your laptop fan every 3–6 months is a simple maintenance step that can make a huge difference.

Tools You’ll Need

Before you start, make sure you have the right tools for the job. Here’s a checklist:

  • Small Phillips screwdriver
  • Compressed air can (or a hand air blower)
  • Soft brush or makeup brush
  • Cotton swabs
  • Microfiber cloth
  • Isopropyl alcohol (optional)
  • Anti-static wristband (recommended for safety)

If your laptop’s warranty is still active, check the manufacturer’s guidelines before opening it. Some brands void warranties if you remove the back cover.

Step 1: Power Down and Unplug Everything

Before cleaning, completely shut down your laptop. Disconnect the charger and any connected accessories such as USB drives, external hard disks, or headphones.

If the battery is removable, take it out as well. This prevents accidental power-on and protects internal components from static discharge.

Step 2: Clean the Exterior Vents

If you want a quick and safe clean without opening the laptop, start by cleaning the vents.

  • Locate the air intake and exhaust vents   usually on the sides or bottom of the laptop.
  • Use a compressed air can to blow short bursts of air into the vents.
  • Hold the fan still with a toothpick or pen through the vent while blowing air. This prevents the fan blades from spinning uncontrollably, which can cause damage.
  • Wipe away any visible dust using a microfiber cloth.

This method helps remove loose dust and improves airflow, though it won’t remove deeper buildup inside the fan.

Step 3: Open the Back Panel (for Deep Cleaning)

If your laptop is still noisy or overheating after cleaning the vents, you’ll need to open the back cover for a deeper clean.

  • Turn your laptop upside down on a clean, flat surface.
  • Use the Phillips screwdriver to carefully remove all visible screws. Keep them organized   some may be different sizes.
  • Gently pry open the back panel using a plastic opening tool or credit card (avoid metal tools that can scratch or short-circuit components).
  • Once open, locate the cooling fan and heat sink.

Be cautious not to touch delicate parts like the motherboard or ribbon cables.

Step 4: Clean the Fan and Heat Sink

  • Hold the fan blades in place with your finger or a small object.
  • Use compressed air to blow away dust from the blades and surrounding area.
    • Always use short bursts and keep the can upright to avoid moisture release.
  • Use a soft brush or cotton swabs to gently clean stubborn dust.
  • If there’s thick dust on the heat sink (the metal fins near the fan), blow air through them or wipe them gently.

Optional:
If you’re comfortable with hardware maintenance, you can also remove the fan for more thorough cleaning. Simply unscrew it from the motherboard, clean the blades individually, and reinstall it.

Step 5: Reassemble the Laptop

After cleaning, double-check that:

  • All screws are accounted for.
  • No cables or connectors were disturbed.
  • The back panel fits snugly in place.

Reinstall the battery (if removed) and reconnect your charger. Turn on your laptop and listen for the fan   it should now run quieter and more efficiently.

Step 6: Clean the Surrounding Areas

While you’re at it, it’s a good idea to clean other parts of your laptop to maintain performance:

  • Keyboard: Use compressed air to remove dust between keys.
  • Ports: Gently blow air into USB, HDMI, and charging ports to remove dirt.
  • Screen and body: Wipe with a microfiber cloth and a small amount of screen cleaner.

Keeping the entire laptop clean improves airflow and prevents future dust buildup.

Additional Tips for Laptop Fan Maintenance

  • Avoid using your laptop on soft surfaces: Beds and couches block ventilation holes. Use a hard surface or cooling pad instead.
  • Regularly dust the workspace: A clean environment means less dust entering your device.
  • Monitor fan speed and temperature: Use apps like HWMonitor or SpeedFan to keep track of performance.
  • Schedule regular cleaning: Every 3–6 months for heavy users, or every year for casual use.
  • Don’t use a vacuum cleaner: The static electricity it generates can damage internal parts.

Signs It’s Time to Clean Your Laptop Fan Again

Even with good maintenance, you might notice performance drops after a while. Here are signs your fan needs cleaning again:

  • Laptop becomes unusually hot, even with light tasks.
  • Fan runs loudly or constantly.
  • Frequent shutdowns or lag during gaming or video editing.
  • Airflow feels weak from the vents.

These are all warning signs of restricted airflow and dust accumulation.

Final Thoughts

Knowing how to clean a laptop fan is an essential skill for any computer user. It’s one of the simplest ways to prevent overheating, improve performance, and prolong your device’s life. Whether you choose a quick surface clean or a deep internal cleaning, the results are immediate quieter operation, smoother performance, and cooler temperatures.

By taking 20–30 minutes every few months to maintain your laptop fan, you’ll keep your system running efficiently for years and avoid costly repairs down the road.

So grab your tools, follow these steps, and give your laptop the breath of fresh air it deserves!

Also Read: How to Use AirDrop from iPhone to Mac

Leave a Reply

Your email address will not be published. Required fields are marked *