

 11
11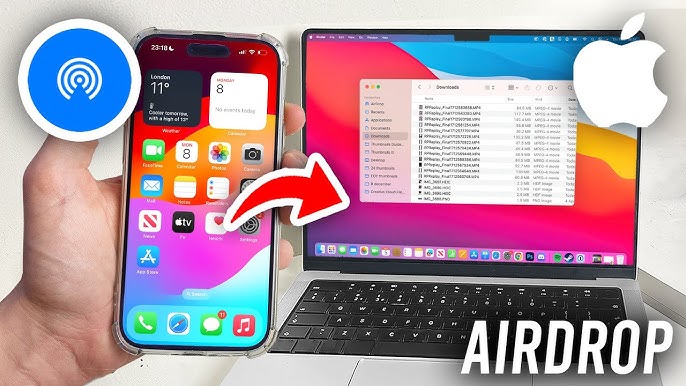
If you’re part of Apple’s ecosystem, you’ve probably heard of AirDrop Apple’s fast, wireless file-sharing feature. It allows you to instantly send photos, videos, documents, and more between Apple devices without cables, email, or internet.
Whether you’re transferring vacation photos or work files, AirDrop makes it simple. In this guide, we’ll walk you through how to use AirDrop from iPhone to Mac, including setup, troubleshooting, and pro tips to make file sharing effortless.
AirDrop is a built-in Apple feature that lets you send files instantly between nearby Apple devices such as iPhones, iPads, and Macs using Bluetooth and Wi-Fi Direct technology.
Essentially, AirDrop creates a peer-to-peer wireless connection between devices, encrypting every transfer for safety.
Before you start transferring, make sure both your devices meet the requirements and have AirDrop enabled.
Once you’ve confirmed these, you’re ready to share files effortlessly.
You can turn on AirDrop on your Mac in a few easy steps:
Option 1: From Finder
Option 2: From Control Center (macOS Monterey and later)
Your Mac is now ready to receive files via AirDrop.
Now, let’s set up AirDrop on your iPhone:
Select either Contacts Only or Everyone to make your iPhone discoverable by your Mac.
Once both devices are ready, sending files is simple.
To send photos, videos, or files:
You’ll see a notification on your Mac asking you to Accept or Decline.
Click Accept, and the files will start transferring instantly.
Once the AirDrop transfer completes, your files are automatically saved on your Mac.
To quickly locate them:
AirDrop also works the other way you can share files from your Mac to iPhone.
The file will appear in the appropriate app (Photos, Files, etc.) depending on its type.
If AirDrop doesn’t appear or files fail to transfer, try these solutions:
Check Discoverability
Restart Wi-Fi and Bluetooth
Turn both off and back on for both devices. Sometimes, resetting the connection helps.
Keep Devices Awake and Unlocked
AirDrop won’t work if either device is asleep or locked.
Sign in with the Same Apple ID (Optional)
For smooth transfers, ensure both devices are using the same iCloud account (though it’s not required).
Check Firewall Settings on Mac
Go to System Settings > Network > Firewall Options and uncheck
“Block all incoming connections.”
After adjusting these, AirDrop should work perfectly.
Rename Your Devices:
Make your devices easy to identify. On your iPhone, go to Settings > General > About > Name. On your Mac, go to System Settings > General > About.
Use Contacts Only for Privacy:
To avoid random requests, keep AirDrop limited to your contacts when in public.
Transfer Multiple Files at Once:
You can AirDrop several photos or files simultaneously just select them all before tapping Share.
Use AirDrop for Large Files:
Unlike email or messaging apps, AirDrop has no file size limit perfect for large videos or projects.
Learning how to use AirDrop from iPhone to Mac can completely change how you share files. It’s fast, wireless, secure, and requires no internet connection. Once you’ve turned it on, you can send photos, videos, and documents in seconds making it perfect for both personal and professional use.
With AirDrop, Apple has made cross-device sharing effortless and once you get used to it, you’ll wonder how you ever lived without it.
Also Read: How to Fix a Slow Android Phone